Important: Installation and uninstallation procedures in Windows Vista and Windows 7 MUST be performed under real Administrator account.
To install Miraplacid Text Driver 2011, follow these steps:
- Download Miraplacid Text Driver 2011 from http://www.miraplacid.com/mtd
- Run mtd.exe
- Click "Next" button
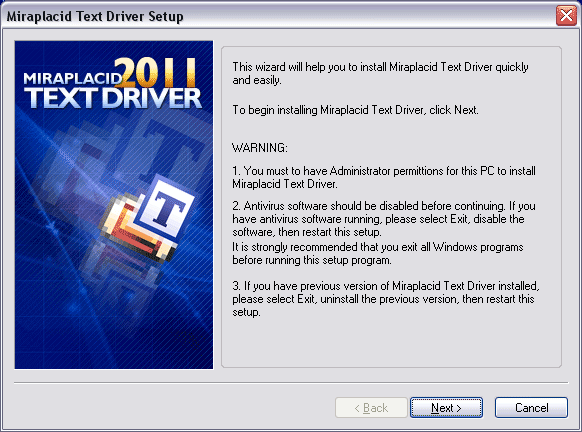
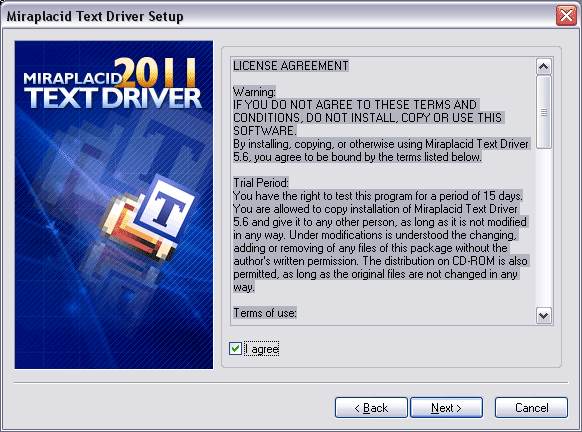
- Make sure you are agree with the license statement and click "I agree" button
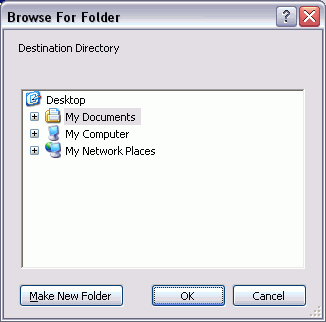
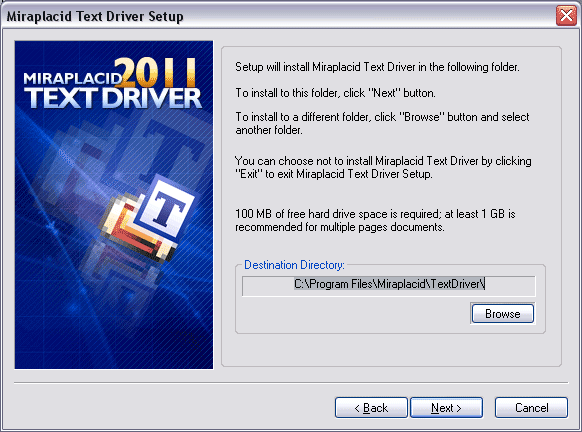
- To install to this folder, click "Next" button. To install to a different folder, click "Browse" button and select another folder.
- Click "Finish" button
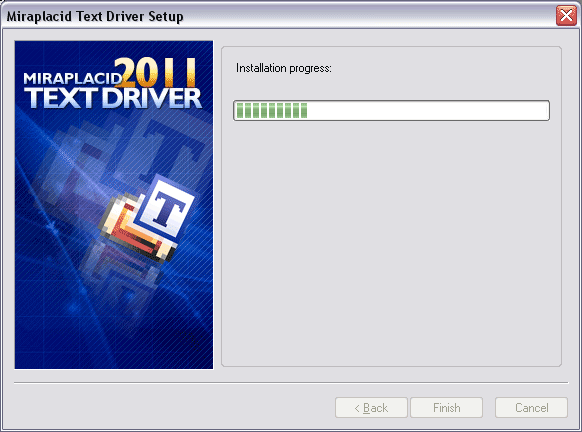
Additionally, shortcuts to Miraplacid Text Driver Manager will be installed to desktop and Programs folder of Start Menu.
Uninstallation
To uninstall Miraplacid Text Driver
- Run mtd.exe or setup.exe from your Text Driver folder.
- In "Reinstall/Uninstall" dialog select "Uninstall Miraplacid Text Driver" and click "Next"

- Click "OK". Miraplacid Text Driver successfully uninstalled.

Reinstallation
To reinstall Miraplacid Text Driver
- Run mtd.exe
- In "Reinstall/Uninstall" dialog select "Reinstall Miraplacid Text Driver" and click "Next"

- To install to this folder, click "Next" button. To install to a different folder, click "Browse" button and select another folder.


- Click "Finish". Miraplacid Text Driver successfully reinstalled.

Add Printer
If you need to print with different settings, Miraplacid Text Driver gives you
and option to create several virtual printer and set individual
configurations for different instances.
Additional printer is basically an additional icon in your "Printers and Faxes" system folder.
To add another instance of Miraplacid Text Driver virtual printer, follow these steps:
- Run mtd.exe or press "My Printers" button in System Settings to get to step 2
- In "Reinstall/Uninstall" dialog select "Add a New Printer to Text Driver" and click "Next"

- Specify new printer name and Click "Finish". New instance of virtual printer successfully installed.

Delete Printer
Delete Printer is not intended to remove Miraplacid text Driver from your PC.
To uninstall Miraplacid Text Driver see "Uninstall" section above.
"Delete Printer" removes an entry in your "Printers and Faxes" system folder.
To add additional virtual printer drivers for Miraplacid Text Driver, see section "Add Printer" above.
To delete an instance of Miraplacid Text Driver virtual printer, follow these steps:
- Run mtd.exe or press "My Printers" button in System Settings
- In "Reinstall/Uninstall" dialog select "Add a New Printer to Text Driver" and click "Next"

- Specify printers to be deleted and Click "Finish". Selected instances of Miraplacid Text Driver Printers will be removed.

See also:


