Important: Installation and uninstallation procedures in Windows Vista MUST be performed under real Administrator account.
Installation
This is
Terminal Server Edition of Miraplacid Publisher.
Your network administrator installs it to on Terminal Server.
You do not need to install or uninstall or uninstall Miraplacid Publisher.
Just print to Miraplacid Publisher in your terminal window.
If you cannot print to Miraplacid Publisher, please contact your network administrator
and make sure that Miraplacid Publisher is property installed on the server and
your account is allowed to print to Miraplacid Publisher.
If you are the Network Administrator, please see Installation and
Administration guide below.
To install Miraplacid Publisher 2009, follow these steps:
- Download Miraplacid Publisher 2009 from http://www.miraplacid.com/mp/mpte.shtml
- Run mpublisherte.exe
- Click "Next" button
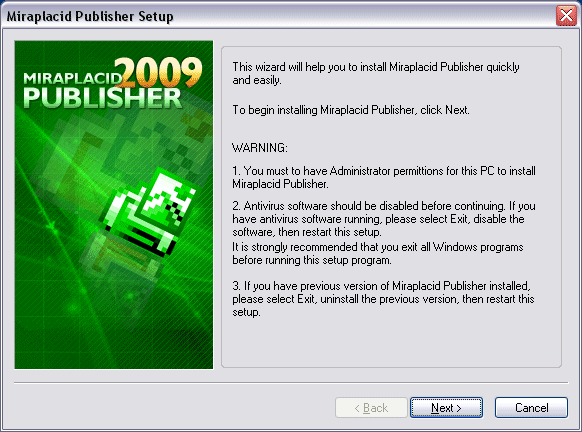
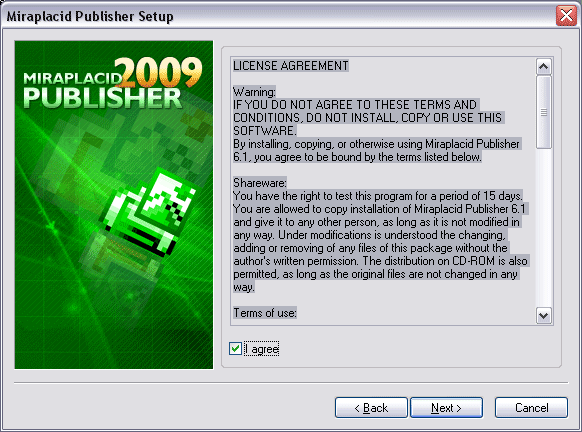
- Make sure you are agree with the license statement and click "I agree" button
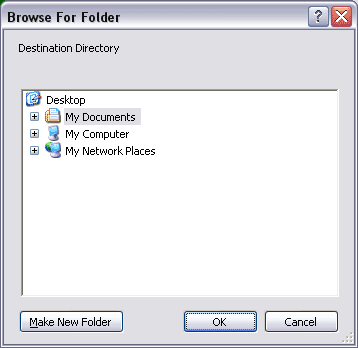
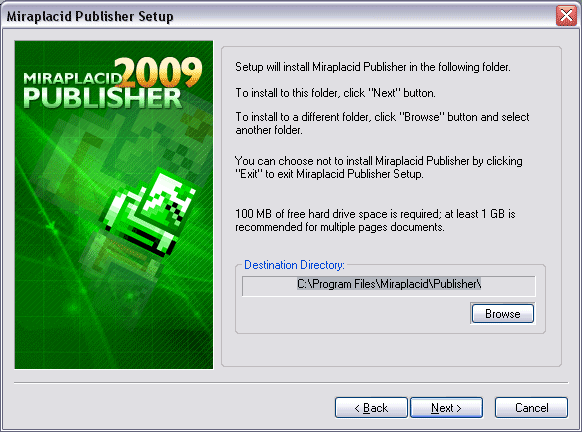
- To install to this folder, click "Next" button. To install to a different folder, click "Browse" button and select another folder.
- Before installation will be completed, License Manager application will be launched to let you set up user accounts properly.
- Click "Finish" button
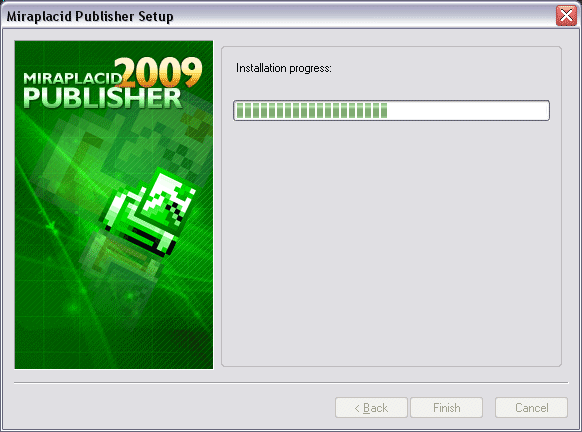
Additionally, shortcuts to Miraplacid Publisher Manager will be installed to desktop and Programs folder of Start Menu.
Uninstallation
To uninstall Miraplacid Publisher
- Run mpublisherte.exe
- In "Reinstall/Uninstall" dialog select "Uninstall Miraplacid Publisher" and click "Next"

- Click "OK". Miraplacid Publisher successfully uninstalled.

Reinstallation
To reinstall Miraplacid Publisher
- Run mpublisherte.exe
- In "Reinstall/Uninstall" dialog select "Reinstall Miraplacid Publisher" and click "Next"

- To install to this folder, click "Next" button. To install to a different folder, click "Browse" button and select another folder.


- Before installation will be completed, License Manager application will be launched to let you set up user accounts properly.
- Click "Finish". Miraplacid Publisher successfully reinstalled.

Add Printer
If you need to print with different settings, Miraplacid Publisher gives you
and option to create several virtual printer and set individual
configurations for different instances.
Additional printer is basically an additional icon in your "Printers and Faxes" system folder.
To add another instance of Miraplacid Publisher virtual printer, follow these steps:
- Run mpublisherte.exe
- In "Reinstall/Uninstall" dialog select "Add a New Printer to Publisher" and click "Next"

- Specify new printer name and Click "Finish". New instance of virtual printer successfully installed.

Delete Printer
Delete Printer is not intended to remove Miraplacid Publisher from your PC.
To uninstall Miraplacid Publisher see "Uninstall" section above.
"Delete Printer" removes an entry in your "Printers and Faxes" system folder.
To add additional virtual printer drivers for Miraplacid Publisher, see section "Add Printer" above.
To delete an instance of Miraplacid Publisher virtual printer, follow these steps:
- Run mpublisherte.exe
- In "Reinstall/Uninstall" dialog select "Add a New Printer to Publisher" and click "Next"

- Specify printers to be deleted and Click "Finish". Selected instances of Miraplacid Publisher Printers will be removed.

See also:
