Getting Started
Contents
Introduction
This is Terminal Server Edition of Miraplacid Publisher. We assume that your system
administrator already installed the software on the terminal server and added your account to
authorized users list. Otherwise, please contact your system administrator.
You will work with Miraplacid Publisher via terminal server window. Remember,
everything you see there actually happen on the server. You cannot get initial file
or put result to your local PC unless your hard drive is shared and mapped to the server.
If you specify drive C:, it will be drive C of the server, not your local hard drive.
If you keep your documents on the server, it will be convenient for you.
Installation and Uninstallation
This is Terminal Server Edition of Miraplacid Publisher.
Your network administrator installs it to on Terminal Server.
You do not need to install or uninstall or uninstall Miraplacid Publisher.
Just print to Miraplacid Publisher in your terminal window.
If you cannot print to Miraplacid Publisher, please contact your network administrator
and make sure that Miraplacid Publisher is property installed on the server and
your account is allowed to print to Miraplacid Publisher.
If you are the Network Administrator, please see Miraplacid Publisher Administration guide
Easy Document to Images conversion
To convert your document to images using Miraplacid Publisher 5.2 follow these steps:
- Make sure Miraplacid Publisher 5.2 is installed on your PC
- Open your document with application that supports printing
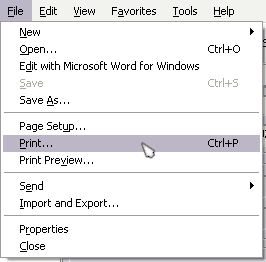
- Open Print dialog box from the application (usually, it is in "File" menu, "Print" item)

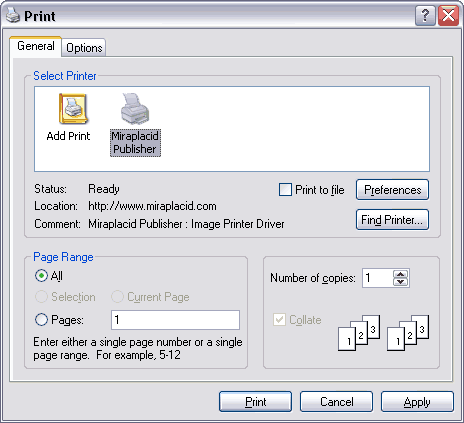
- In the "Print" dialog select "Miraplacid Publisher" in a "Select Printer" ("Printer Name") box and click "Print"

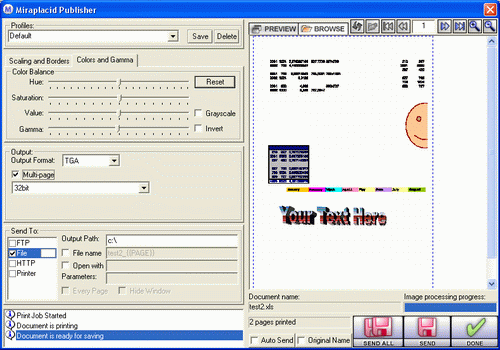
- In the "Miraplacid Publisher" dialog specify file location (make sure Send To: File is selected) and click "Send" or "Send All"

Congratulations! Your document has been converted to image and saved to disk!
Easy Document to Web Presentation conversion
To convert your document to web presentation using Miraplacid Publisher 5.2 follow these steps:
- Make sure Miraplacid Publisher 5.2 is installed on your PC
- Open your document with application that supports printing
- Open Print dialog box from the application (usually, it is in "File" menu, "Print" item)

- In the "Print" dialog select "Miraplacid Publisher" in a "Select Printer" ("Printer Name") box and click "Print"

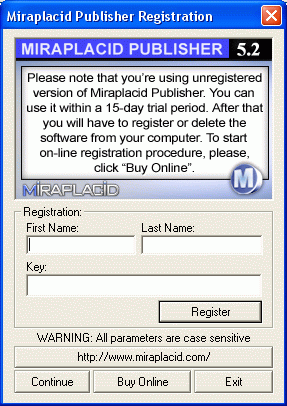
- For unregistered version only: click "Continue" button.
Note: you will never see this dialog in a registered version.

- In the Miraplacid Publisher dialog select "Web Presentation" in
Configuration dropdown menu.
- In the "Miraplacid Publisher" dialog specify a file location (make sure Send To: File is selected),
make sure "File name" check box is checked and file name is p{{PAGE}},
and click "Send All"
Congratulations! Your document has been converted to web presentation and saved to disk!
- Go to the destination folder you specified, find .jpg and .htm files and copy them to your web server.
- Open a browser, go to your web server and open file
http://www.yourserver.com/presentation/p1.htm
See also:
|
